Import tracked vehicles using the Import Wizard
The Import Wizard provides a quick and easy way to import your tracked vehicles into Move.
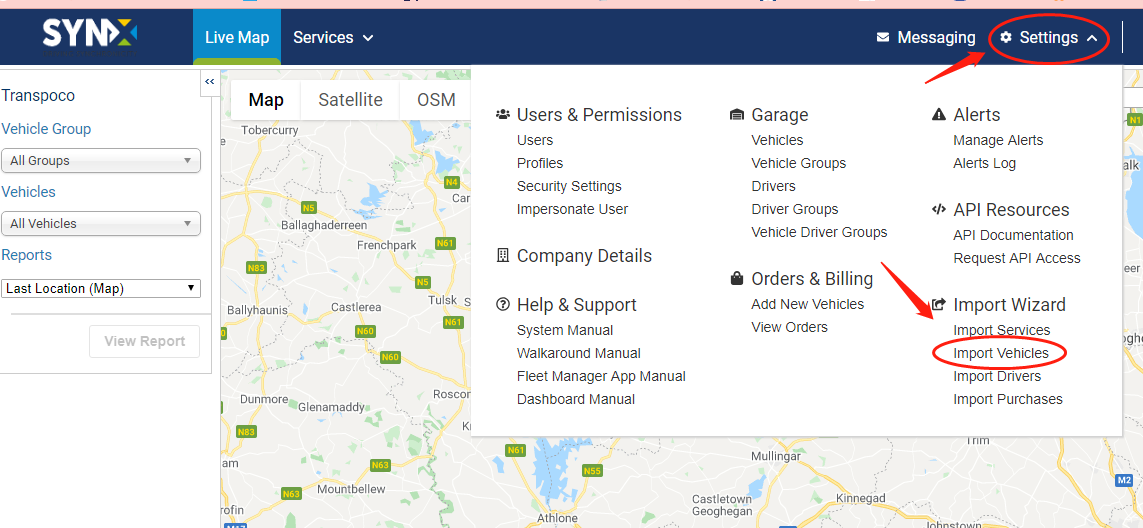
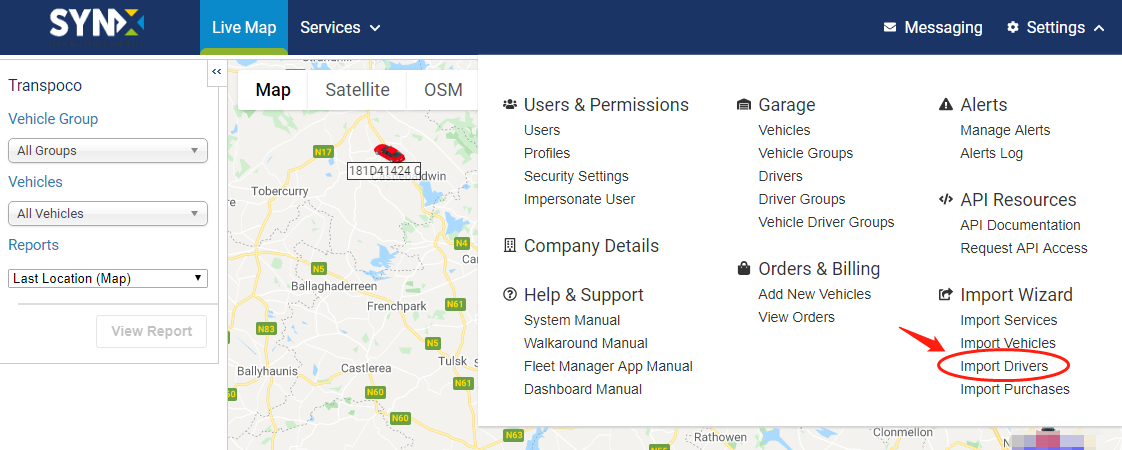
- Click on Settings in the menu header.
- Click on Import Vehicles under ‘Import Wizard’ in the drop-down menu.
The Import Wizard will open.

- Click on Import Tracked Vehicles.
- Click on Next.
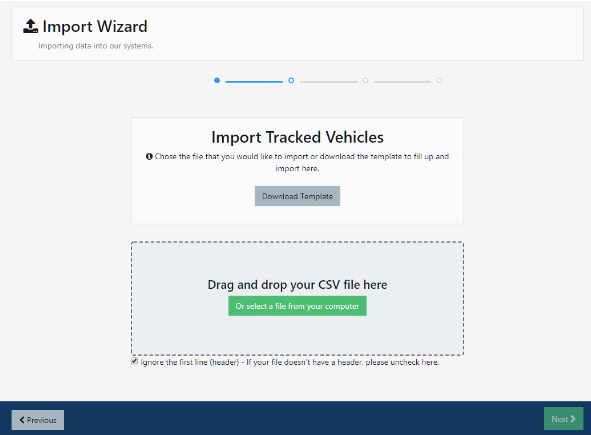
To import your vehicles you can either upload your own CSV file or use our template.
To upload your own file:
- Either, drag and drop your CSV file into the pale blue box;
Or
- Click on the green link to select a file from your computer.
- Navigate to the file on your computer.
- Click on Open.
The file will be uploaded to SynX.
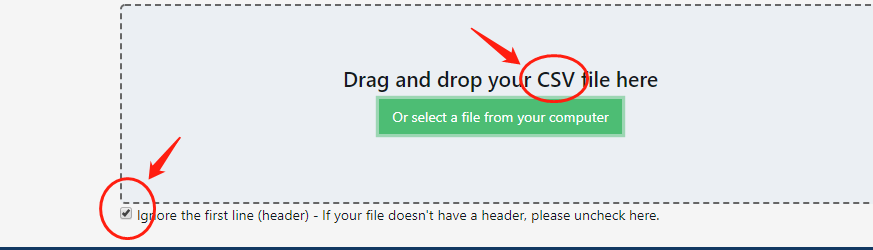
Note: your file must be saved in the CSV format.
And, if your spreadsheet contains a header (headings for the columns), ensure the Ignore the first line (header) box is checked. If there are no headings, uncheck the box.
- Click on Next.
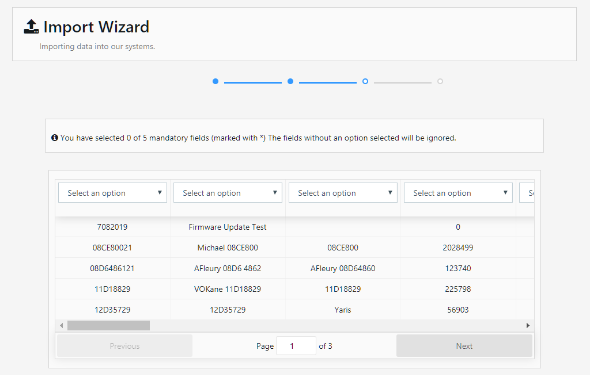
SynX now needs to match each column of data to the fields in the vehicle database. Note: you cannot progress to the next stage until at least the five mandatory fields have been selected.
- Click on the first Select an Option drop-down box.
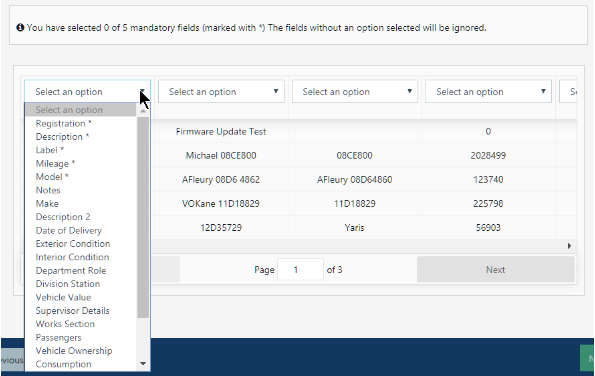
- Select the field that matches the data in that column, e.g. in our example it would be ‘Registration’.
- Repeat for all columns (fields) that contain data, scrolling horizontally as required.
Note: Once a field has been selected, it cannot be selected again in another column.
And, fields that don’t have an option selected will not be added to the database.
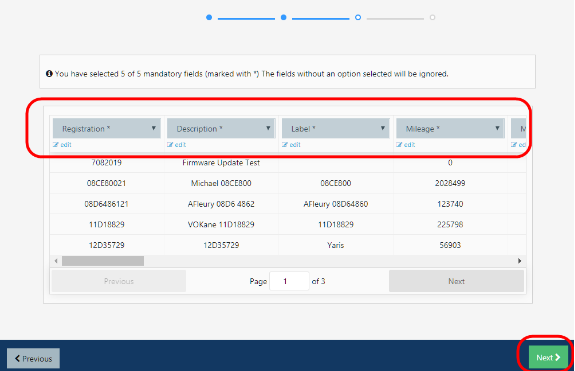
- If you make a mistake, click on Edit under the selection box.
- Click on Next.
- If there are any problems, the system will provide information about the errors so they can be corrected and the file resubmitted.
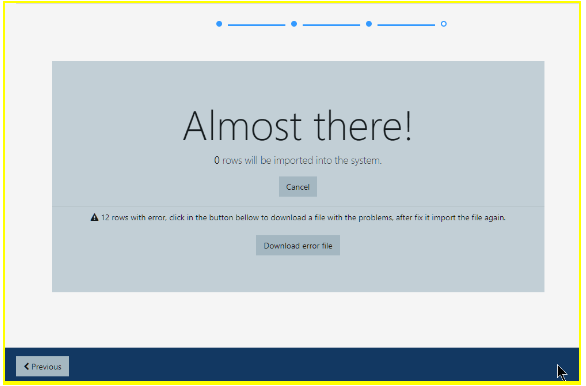
- Click on Download Error File.
- Select a location on your computer to save the file to.
- Click on Save.
- Open the saved error list.
- Make the necessary changes to your vehicle list spreadsheet.
- Click on Previous twice in the wizard to return to the Import File page.
- As before, upload your file by the drag and drop method or by selecting the file from your computer.
- Click on Next.
- Repeat the step to select options for each field.
- Click on Next.
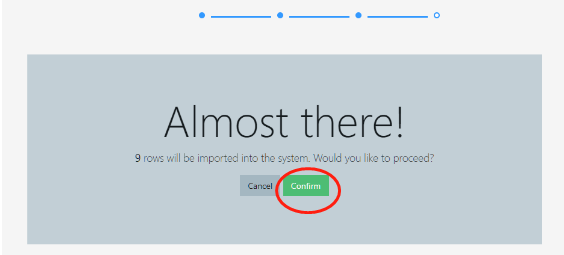
- Click on Confirm.
- Click on Return to Move.
To use our template:
- Click on Download Template.
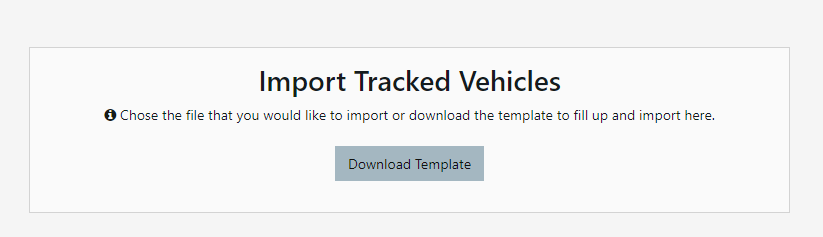
- Save and open the template file in MS Excel or other spreadsheet program.
- Add the details of the new vehicle(s) under the headings in the spreadsheet.
- Follow the steps above to upload the file and import the data.
Import drivers using the Import Wizard
The Import Wizard provides a quick and easy way to import your drivers into Move.
- Click on Settings in the menu header.
Click on Import Drivers under ‘Import Wizard’ in the drop-down menu.
The Import Wizard will open.
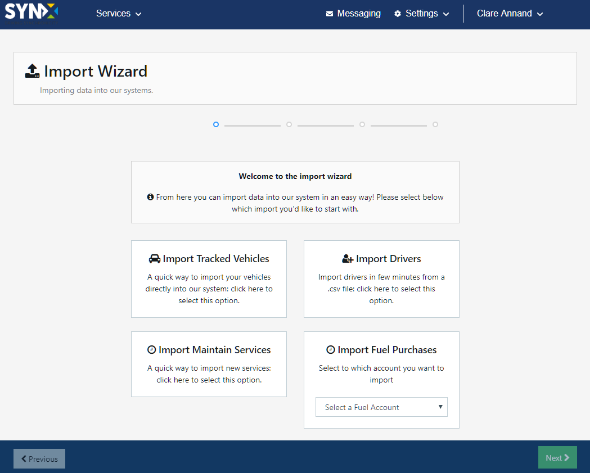
- Click on Import Drivers.
- Click on Next.
- The following steps are exactly the same as in the above section - Import tracked vehicles using the Import Wizard.