You can set up customized shift times to allow you to filter reports by working hours, outside of working hours, etc.
To start click on Settings > Company details > Shift Time.

- You will see the shift time set up page.

- There are four default shift time settings in your account.

Here is the configuration of the Working hours shift time. The hours highlighted in blue form the shift time.
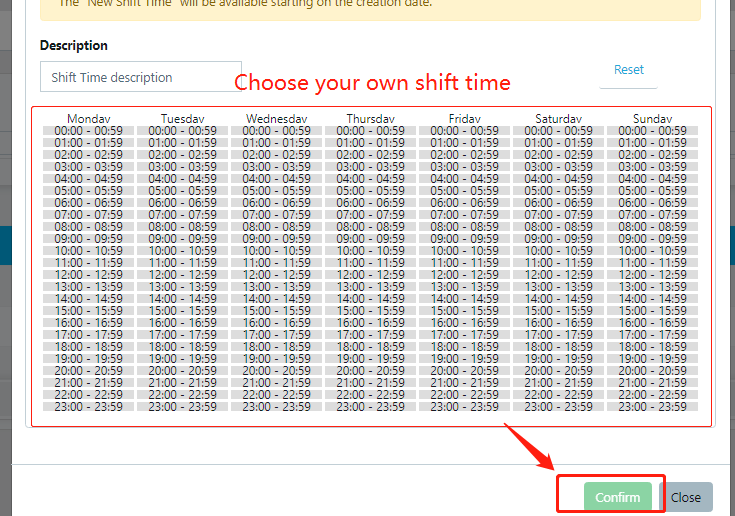
- You can add new customized shift time by clicking on the “+ New Shift TIme.
- Choose your own shift time and then click “Confirm” to save it.
- Then it will appear in the shift time page.
- You could always view or delete any shit time including the default ones.

- You can also edit the name by clicking on the name description twice. It will allow you to edit the name of it.
- If you have too many shift time options you can change pages either by clicking “Next” and “Previous” OR by clicking on the page numbers.
- You could change the number of rows as well by clicking on
.


After setting up your customized shift time, you can filter your fleet reports by them now.
In the filters of a report you can select a shift time from the list of shift times in your accounr.
