The map has the following views and layers:
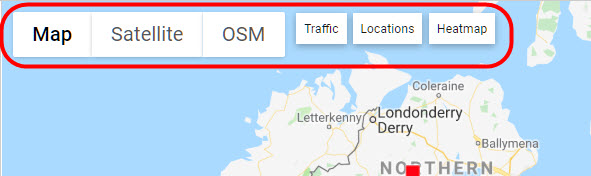
Map, Satellite and OSM provide different ways to view the area and show different information.
Traffic, Locations and Heatmap are layers with additional information which can be toggled on and off.
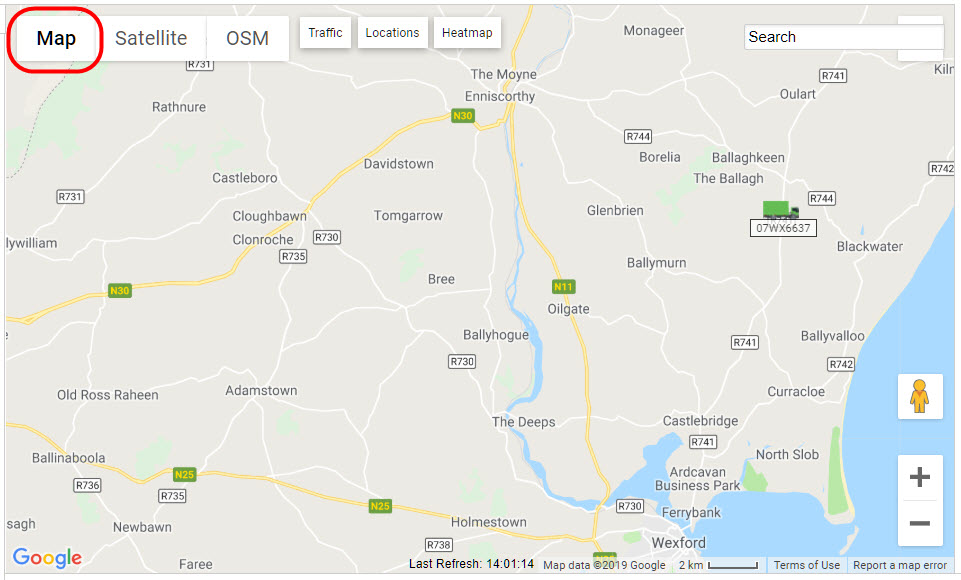
Standard map
This is the default 2-D street map view.
If not already in this view, click on Map. This view will remain unless changed to Satellite or OSM maps.
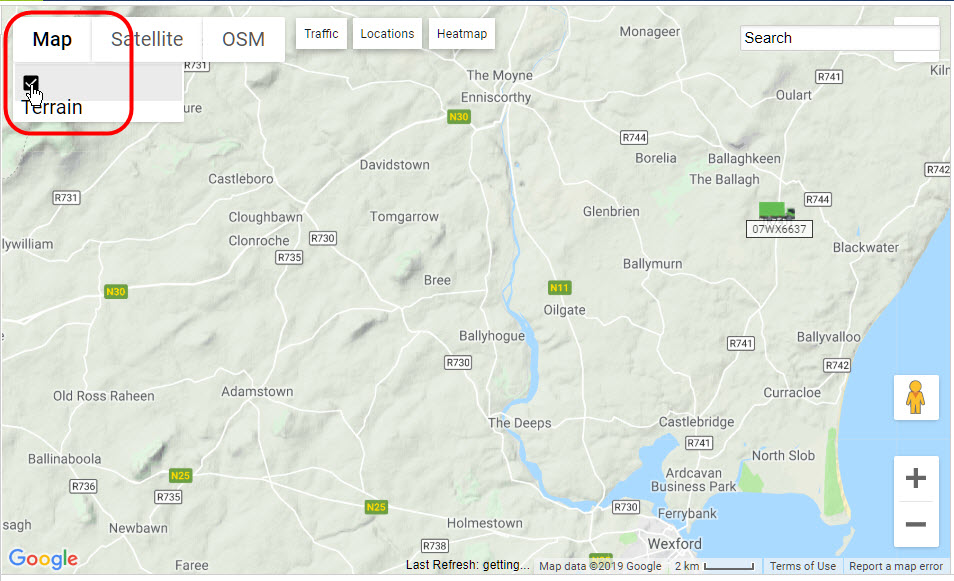
To turn on/off the terrain, check/uncheck the Terrain box.
Satellite
This is the photographic view of the area. The labels (road and place names) can be toggled on/off.
Click on Satellite. This view will remain unless changed to Map or OSM. The default view is with the labels (road names and place names) showing.
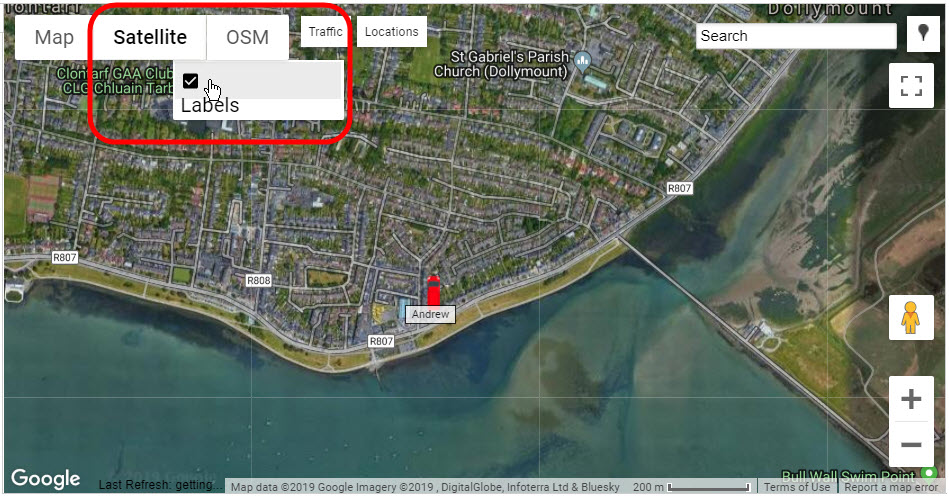
To turn the labels on/off, click on Satellite and check/uncheck the Labels box.
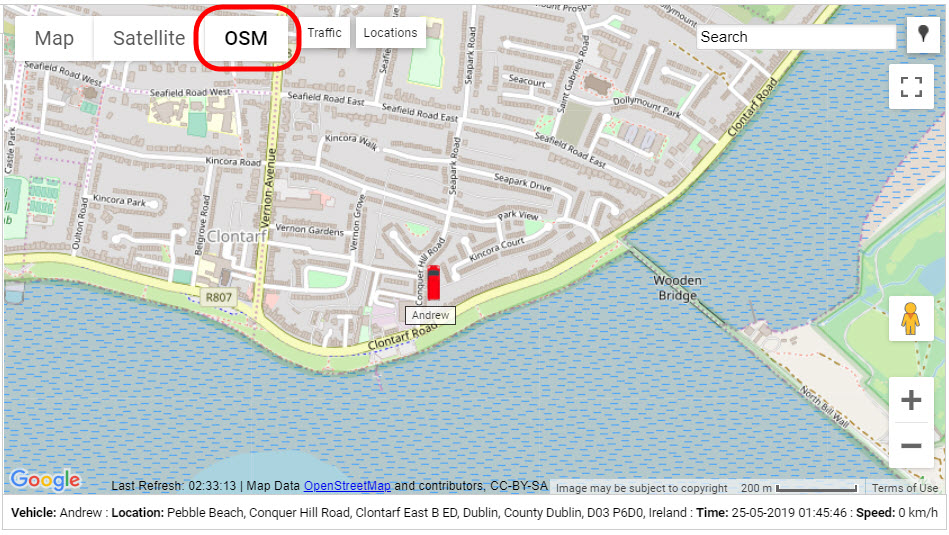
OSM
This is OpenStreetMaps, which is user-generated content. It provides an additional option to view data and is the best quality for industrial/urban areas and for creating geofences.
Traffic
Live traffic information can be overlaid on the standard and satellite maps (toggle on/off) and with the locations and heatmap layers.
In either Map or Satellite view, click on Traffic.
As in Google, green lines show traffic is flowing, while orange through to dark red lines show increasing traffic congestion.
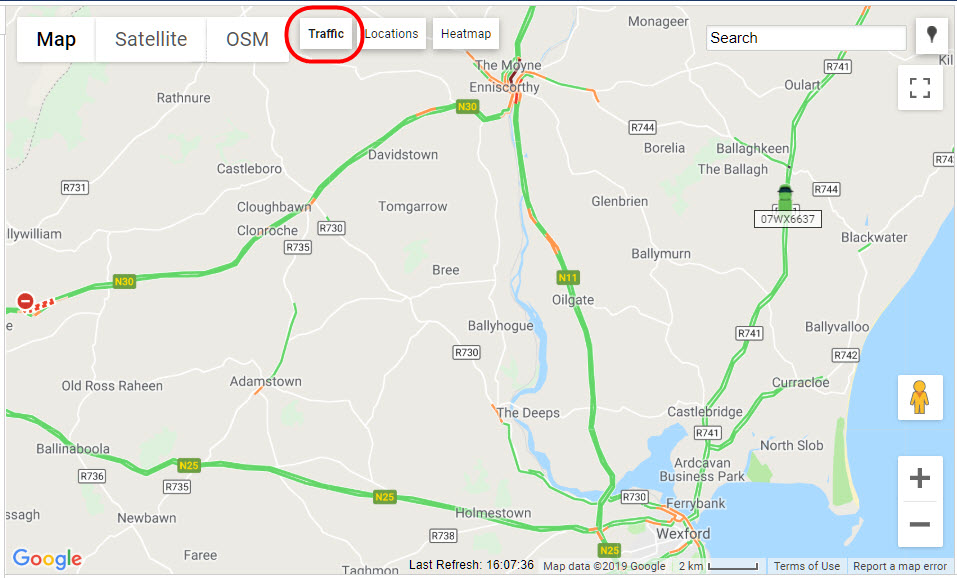
Turn off the traffic layer by clicking on Traffic again.
Locations
The locations database can be overlaid on the standard, satellite and OSM maps and with the traffic and heatmap layers (toggle show/hide). Locations are covered in Locations Database.
In either Map, Satellite or OSM view, click on Locations.
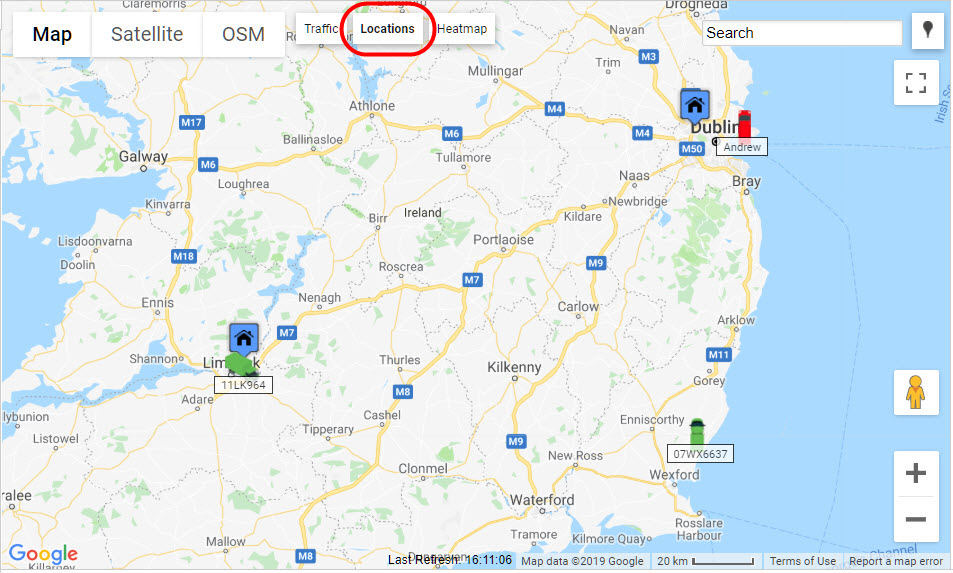
Turn off the locations layer by clicking on Locations again.
Routes
Pre-defined set routes added to system can be overlaid on the standard, satellite and OSM maps (toggle show/hide).
- Click on Routes to bring up a pop-up list of all routes in the system.
- Select the route to add to the map.
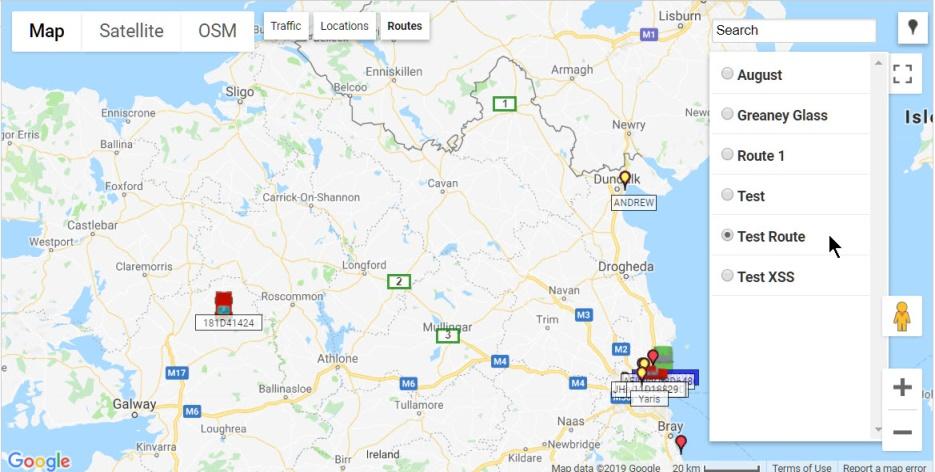
- Hide the route by clicking again on Routes.
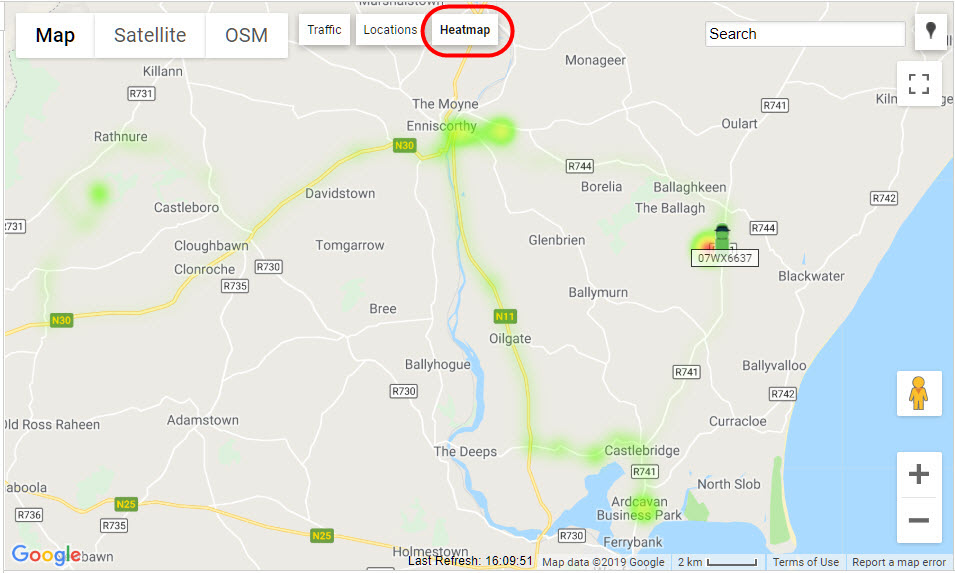
Heatmap
The heatmap layer shows at a glance the route covered by your vehicle(s). This can overlay the standard, satellite and OSM maps, and the traffic and locations layers. It is called a heatmap as the more frequent a route is used, the colour changes from green (least) through to yellow and orange, and finally to red (most).
In either Map, Satellite or OSM view, click on Heatmap.
Turn off the heatmap by clicking on Heatmap again.