Click on Locations in the tabbed menu.
.png?width=688&height=254&name=image%20(47).png)
There are two ways to begin adding a location/geofence: 1) search for a location; or 2) click on the map. The second method is quicker but it requires first locating the exact address on the map, whereas the first method will find the address for you.
1 Search for a location
- Type a postcode/eircode/zip code, name or any part of the address in the search box.
- Transpoco will search for and bring up the required address or a list of possible matches.
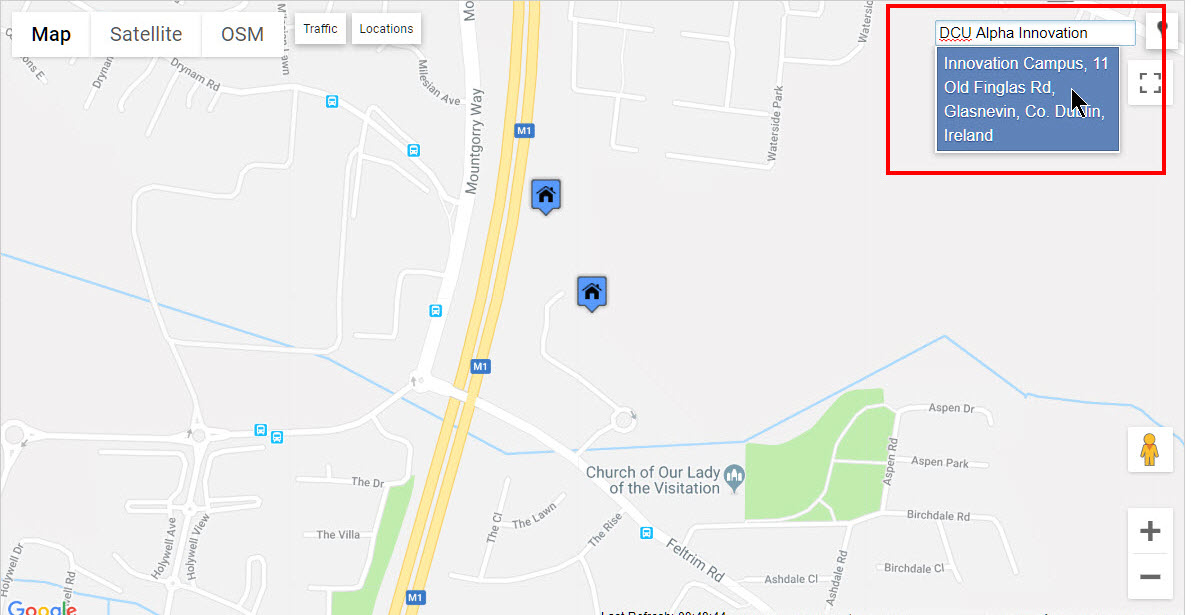
- Click on the required address.
- The map will zoom to that location and the system places a blue pin and a pop-up menu.
2 Click on the map
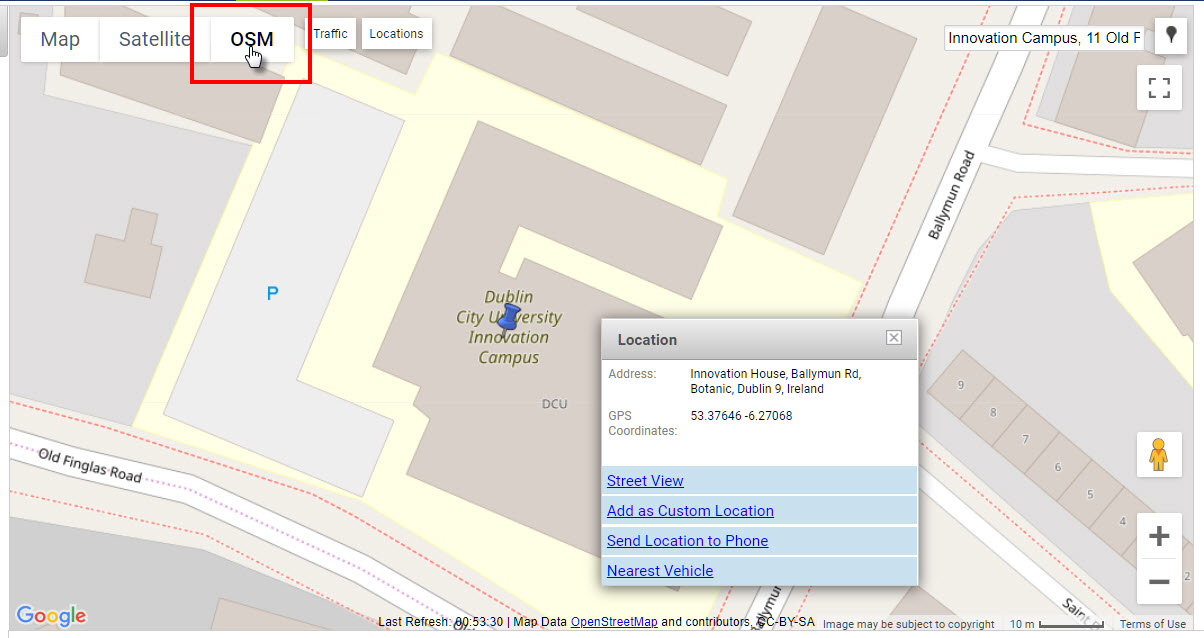
- Right-click onto the required location on the map. Note: It can help to find a building by using the OSM map layer.
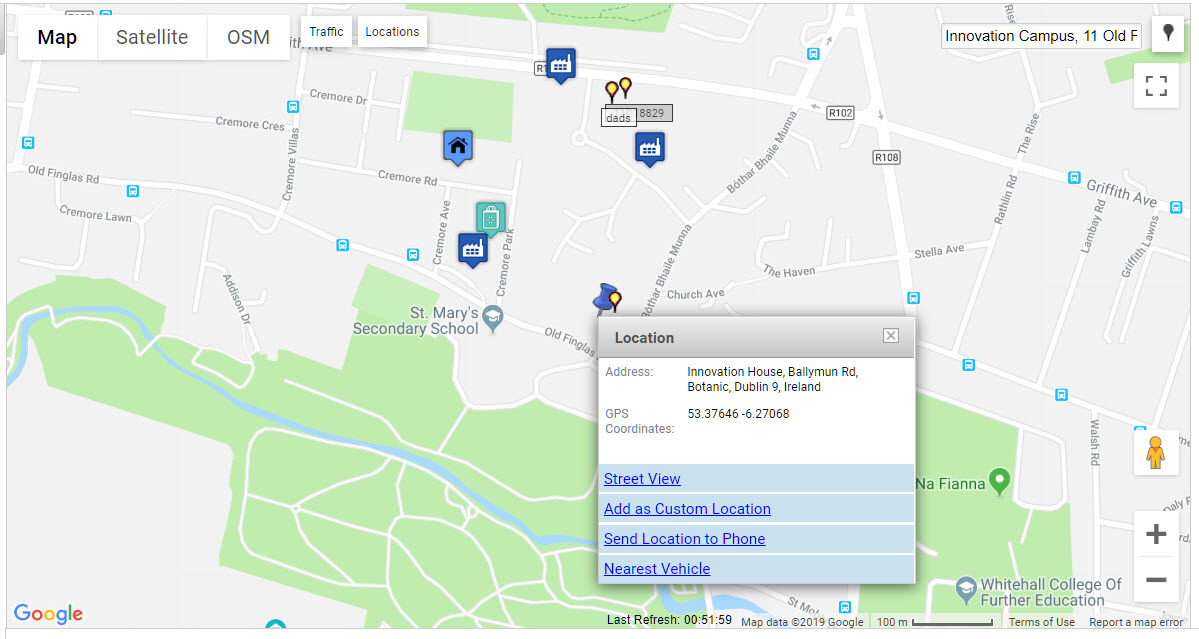
- This will add a blue pin and a pop-up menu.
Whichever method is used to pin the location, the instructions from herein are the same.
- Click on ‘Add as Custom Location’ on the pop-up menu.
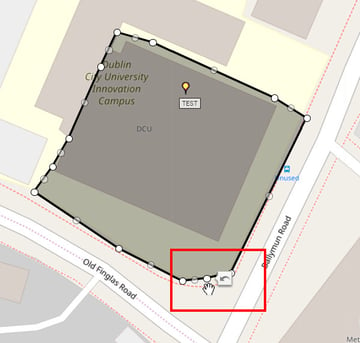
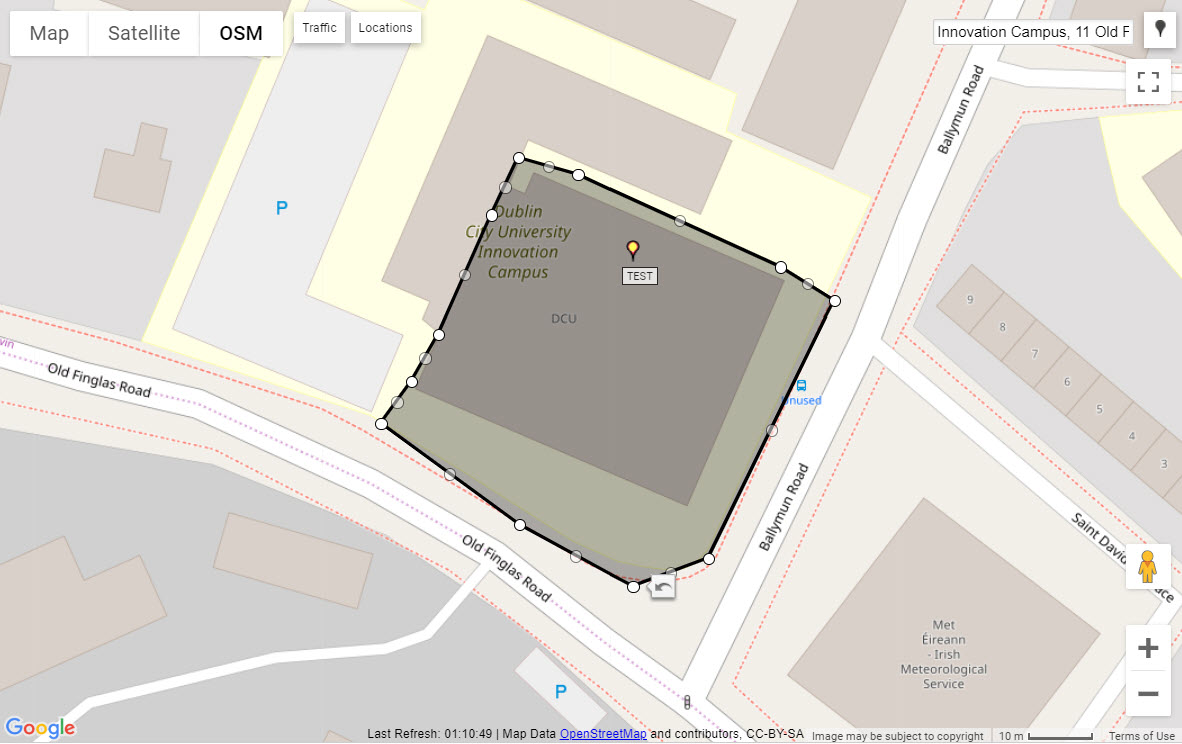
A grey square will appear around the location (the map will automatically zoom in if necessary). (Note: ignore the yellow pin in the image – this denotes a test tracker at the Transpoco office.)

You will notice that there is a point on each corner and on each side – these are used to resize and reshape the box to fit the location and buffer zone, or in this case, to create the perimeter around the building.
- Grab the points by left-clicking and holding with the mouse, then dragging to the required location. Release the mouse button when the point is in the right place.
Note: You will see that after a point is moved, another point is created between it and its neighbour, which provides more flexibility.
Note: To undo the last point movement, click on the undo icon.
- Continue resizing and re-positioning the polygon around the required boundary.
Note: Moving the mouse while the cursor is inside the polygon will move the whole polygon.
Note: If working on very large, complicated polygons, such as around a district, it is advisable to save the polygon intermittently while working, and continuing by editing the location. For how to do this, see How do I edit a location?
- Add the address details on the left.
- If preferred, the location can be added to a new or existing group (to assist with reporting).
- Choose a colour for the icon – this can help identify the type of location on the map.
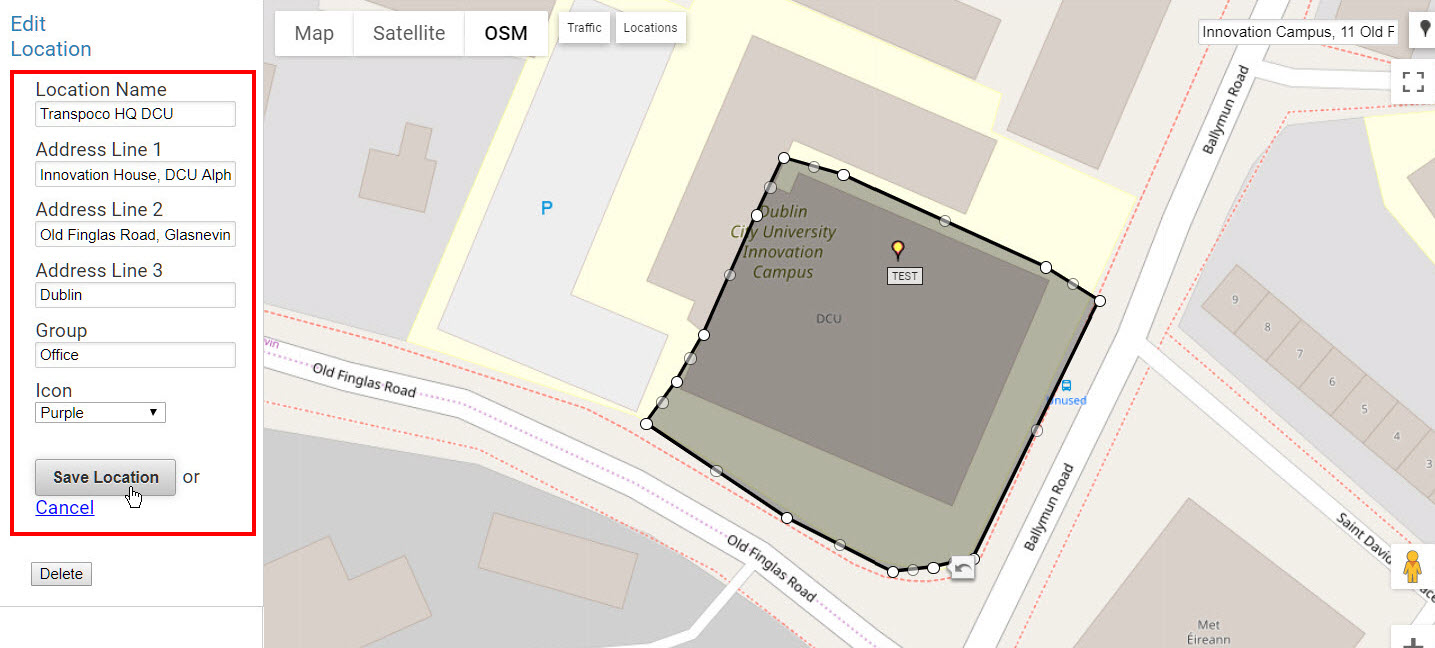
- Click on the Save Location The location/geofence is now added to the Locations Database.
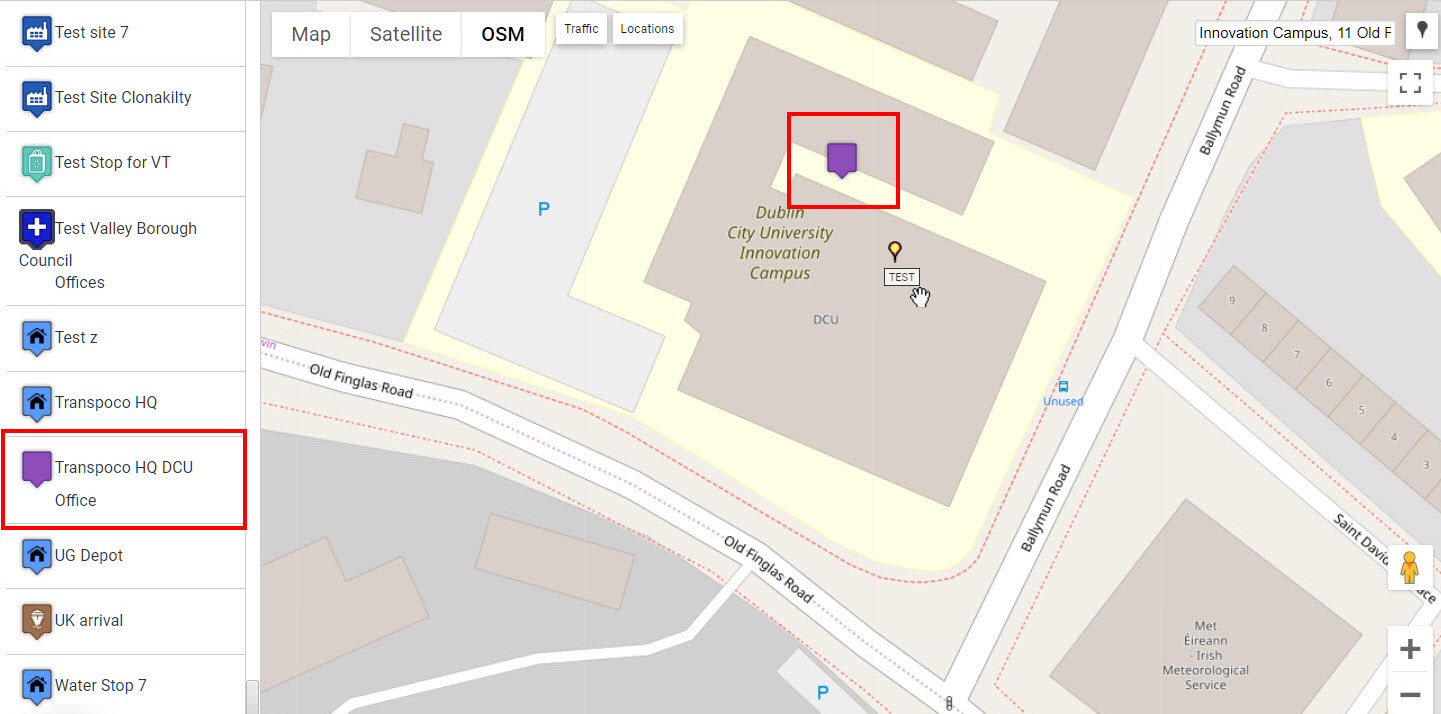
Note: The perimeter shape disappears from the map and an icon is placed in the top left corner; however, the perimeter is remembered by the system and will appear if the user selects Edit a Custom Location.
Once the location is stored in the database, it can be used in reports and alerts, including the Locations Report.